Notice the kill switch has a bracket attached to the rear, inner section of the housing. It is held in place with a small grub screw, which passes through the bracket and in to the rear body of the switch. Remove the screw, being careful not to lose the small flat washer underneath.

The kill switch has a slotted upper section in the housing, this is designed so that the peg sticking down from the hole in the headset can fit into it. So the switch can only go in one way around and the peg will help to prevent it from swivelling around during use.
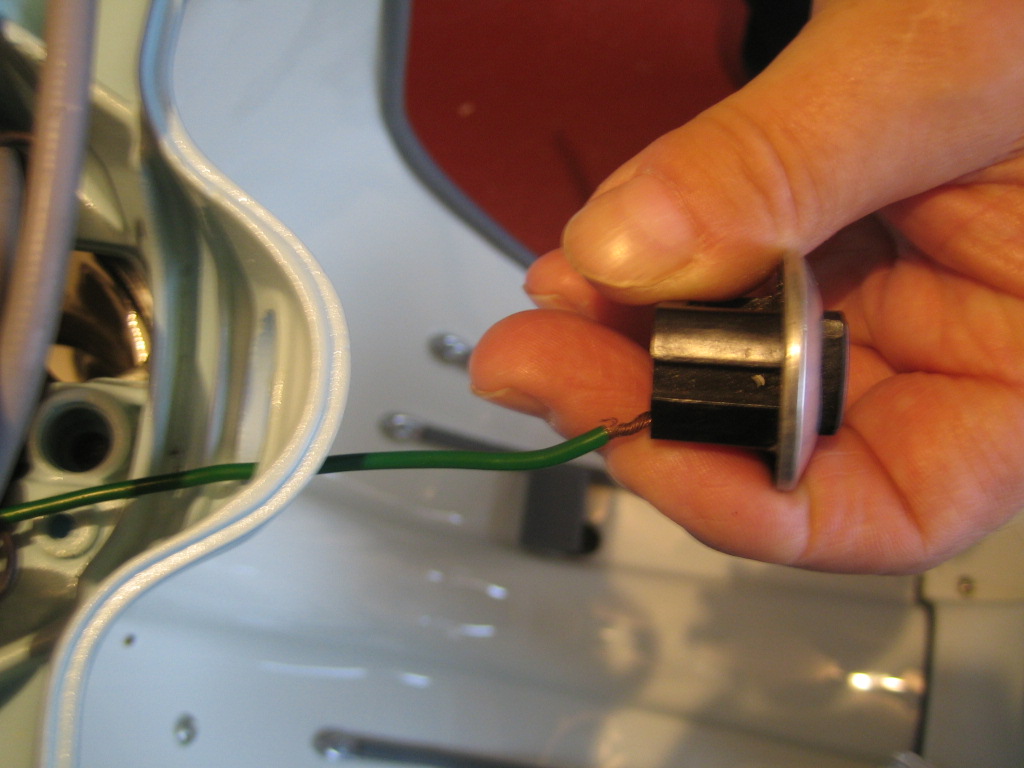
Push the green earth wire through the hole in the headset and then the switch itself.

Whilst holding the switch in place, insert the bracket over the inside as shown so that it is level with the ground. See picture below.
Tighten the grub screw but don't overdo it.

1 comment:
Hi, I am really finding your posts useful .
I am restoring my 1959 li 150 s1 and I am getting ready to start the engine. I have got a spark, but I haven't wired any otter electrics in. Does the kill switch connect directly to the main loom?
Post a Comment